|
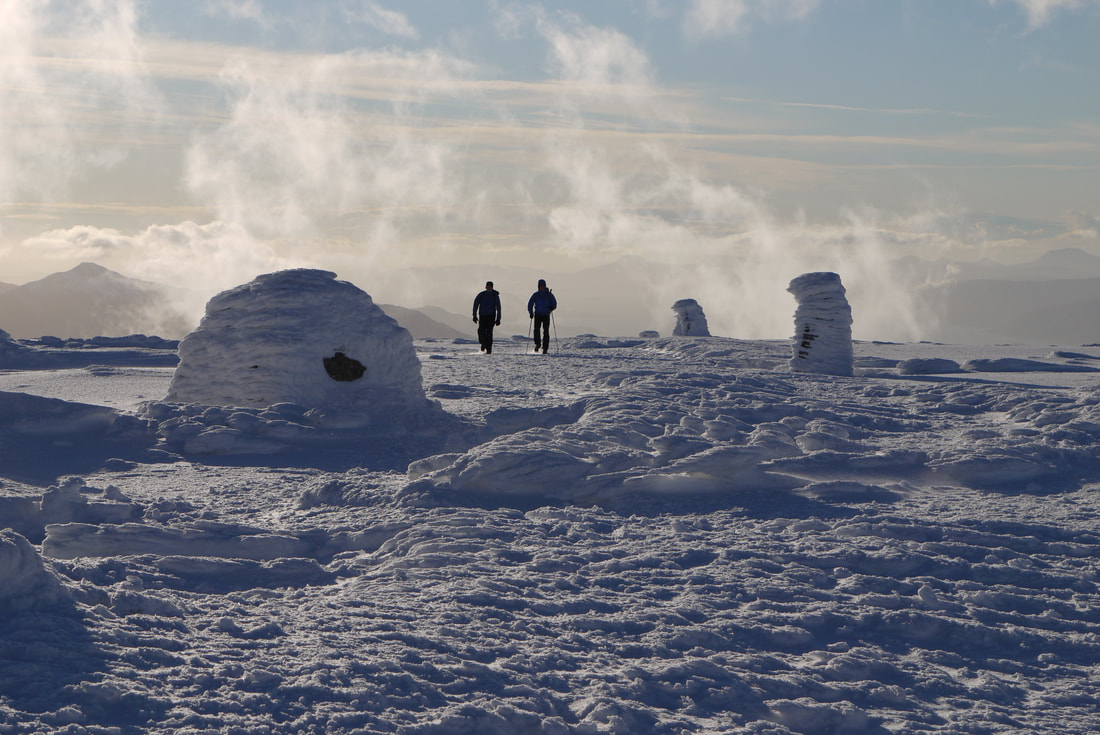
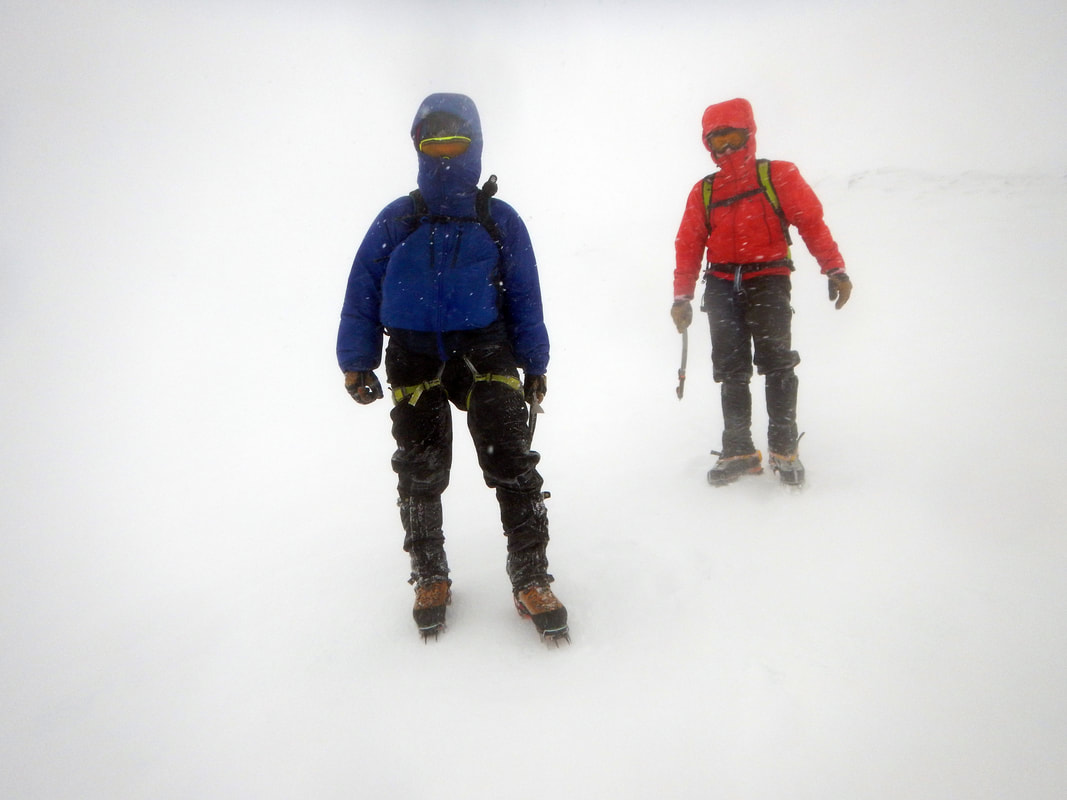
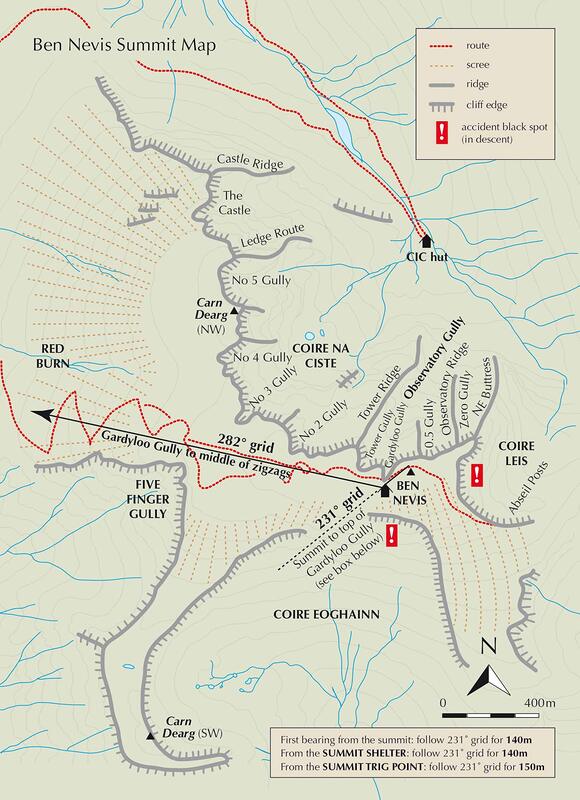
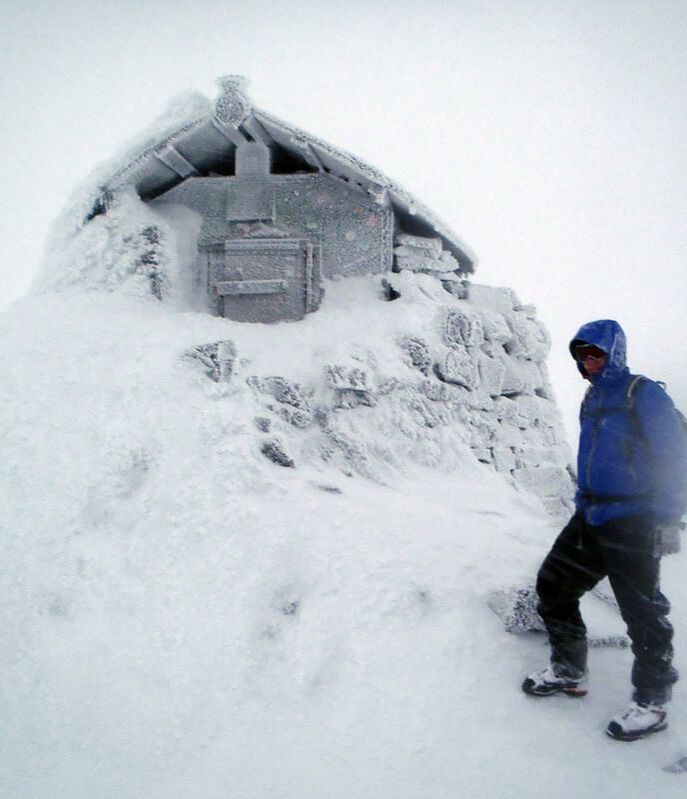
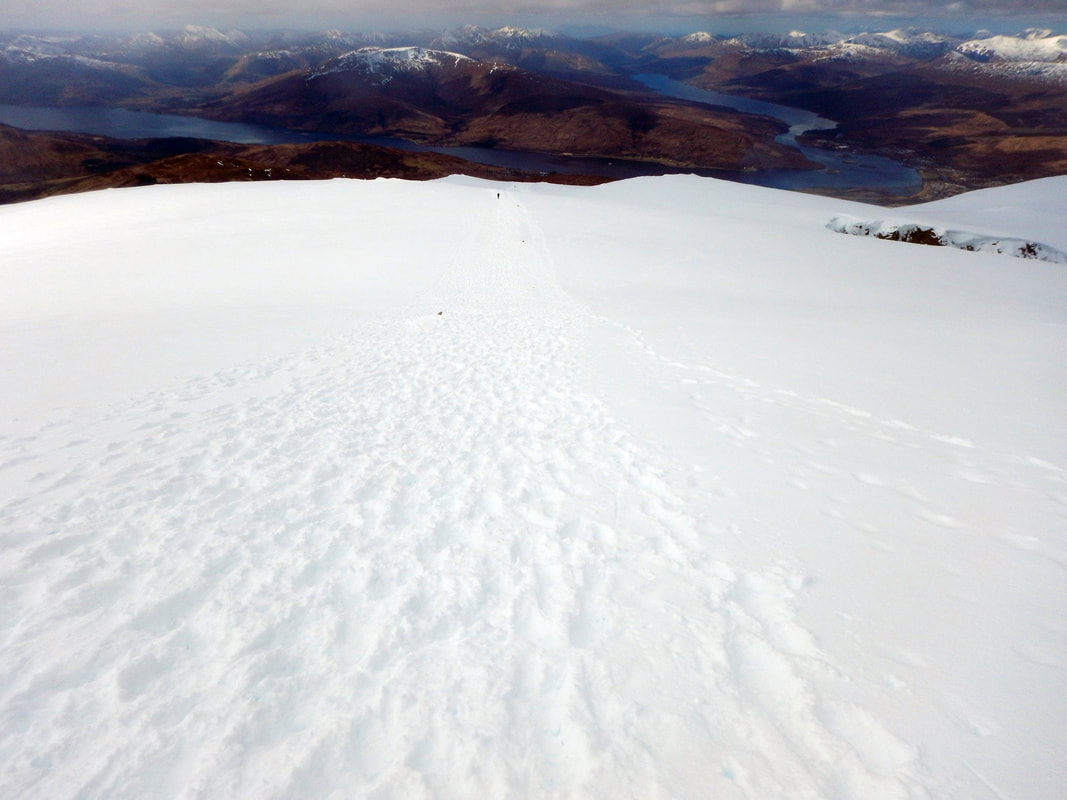
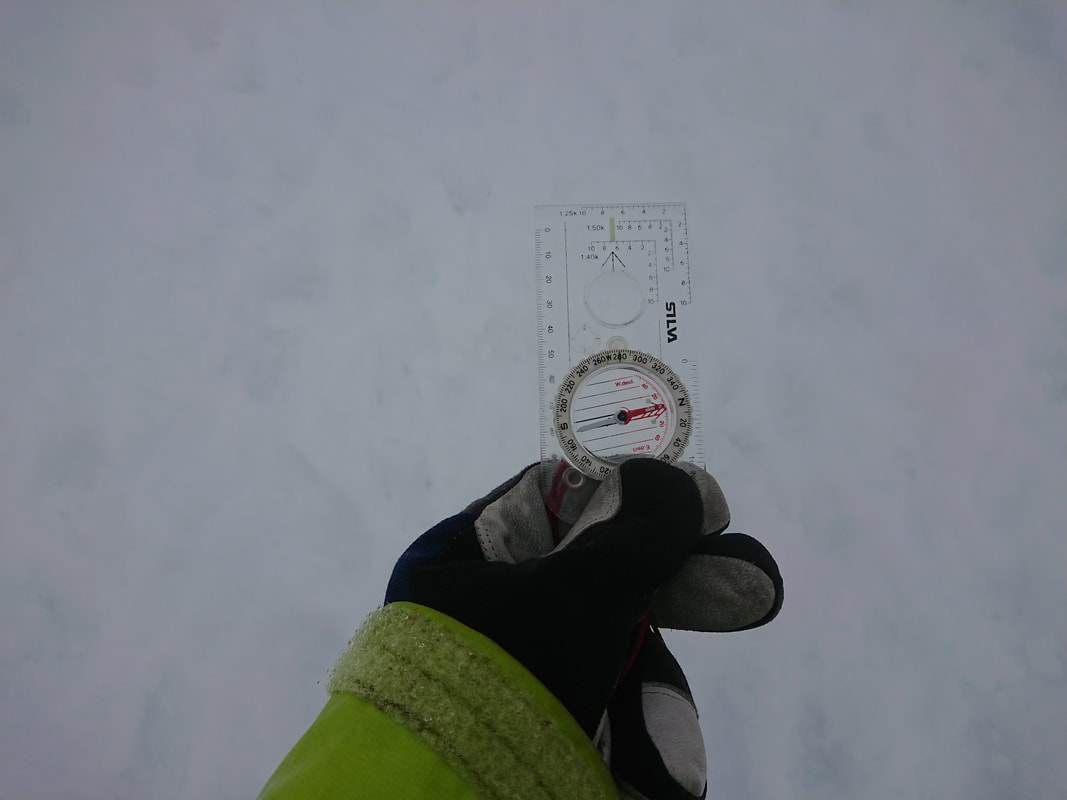
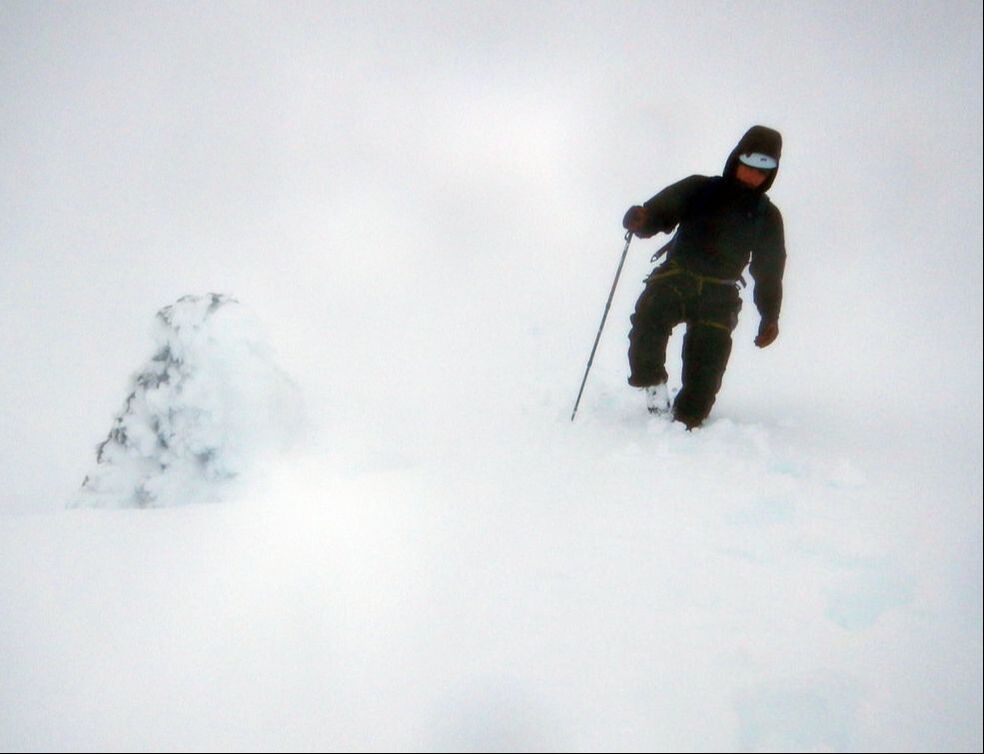
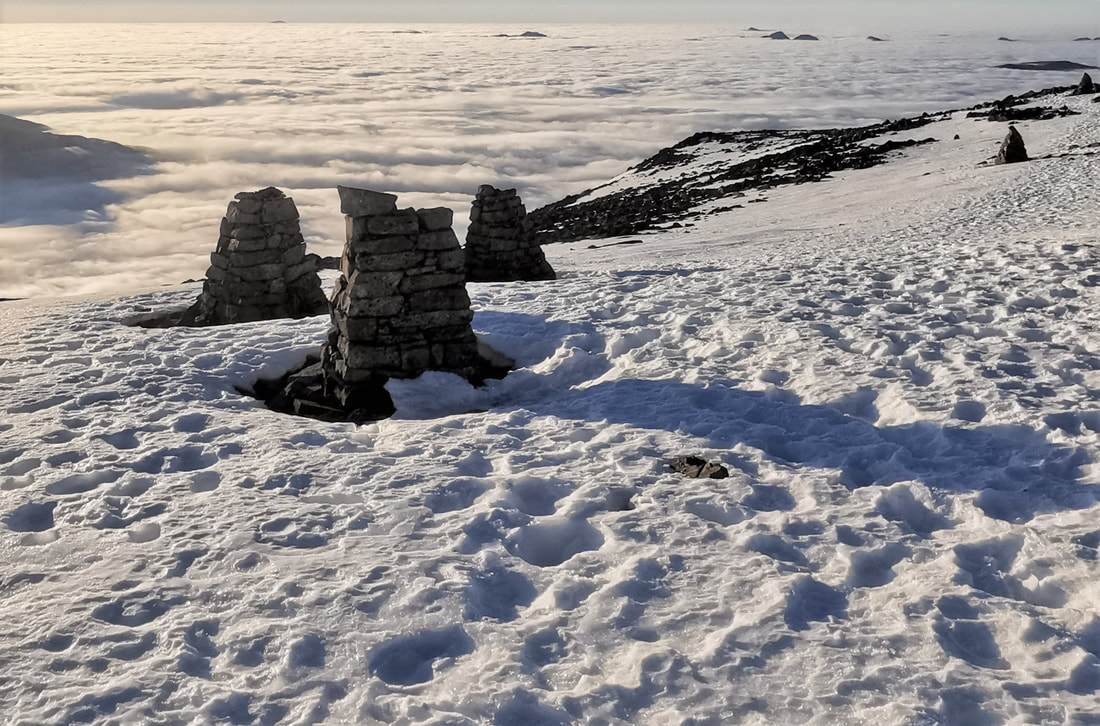
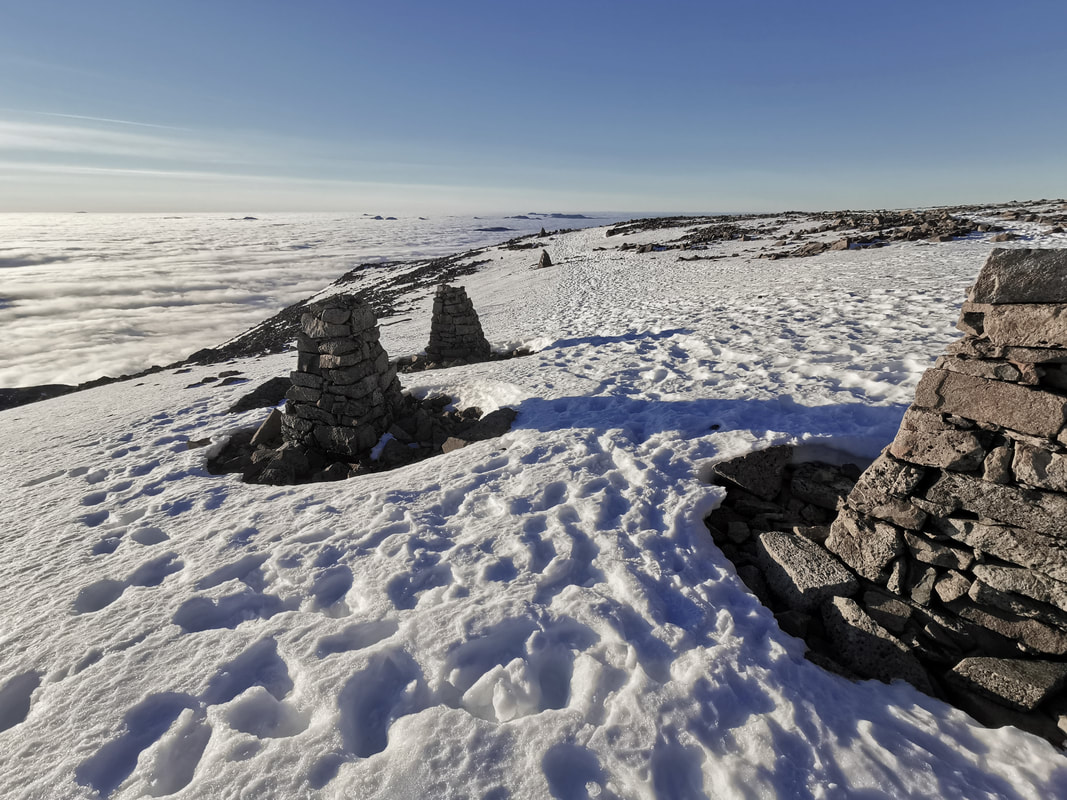
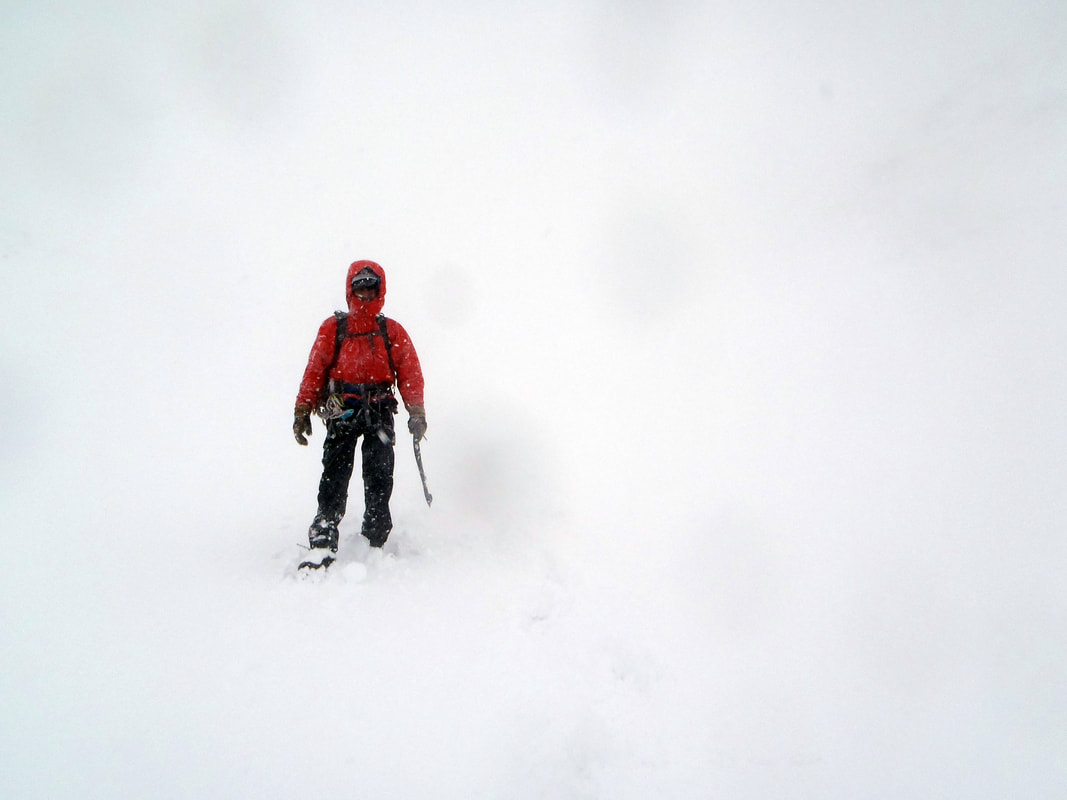
In good visibility, navigating up and back down Ben Nevis in winter can seem quite straightforward. It is a busy mountain and there is often a well trodden path to the summit, as well as cairns above 1150m about every 50m along the way. When you can see as far as Skye to the west and Cairngorm to the east, it is not surprising that you should be able to find your way easily. Even then, the path above 900m or so is usually covered in snow between December and May and can be nearly impossible to find and follow. If there is no boot trail through the snow, it can be quite confusing, even in good visibility. And the summit is only clear about 20% of the time in winter. In the cloud, when there is no definition between the snow on the ground and the snow and cloud in the air all around you it is a very serious place, and navigation skills need to be very accurate. The skills you need are to be able to follow a compass bearing accurately, and to measure the distance you walk along the ground by counting your paces. With these skills, you can then follow your progress on the map and plan the next section of walking, as long as you are very used to using maps and identifying features on the ground that are marked on the map. Of course, most features will be covered by the snow, just to make it even harder! The high summit plateau of Ben Nevis is surrounded on nearly all sides by steep and difficult ground. Many accidents have occurred in descent. Often this part of the day will call for more concentration and judgement than any other time, especially in considering human factors that will influence decision making. Even if you make it to the top, getting down again can be the hardest thing. The best and quickest descent is by the Mountain Track. Careful use of map, compass, pacing, possibly GPS and the sketch plan of the cliffs given below will help to get you down, but local knowledge is invaluable. When visibility is good, make a close study of the general topography of the mountain; if possible visit the summit plateau with a view to memorising its details and recording important compass/GPS bearings. The ruined observatory, topped by a survival shelter, is an unmistakable landmark on the summit itself, even when the neighbouring triangulation point and numerous cairns are covered by snow. Follow a grid bearing of 231° (grid) for 150m from the summit shelter. This will avoid the steep drop of Gardyloo Gully close on your right. Then follow a bearing of 282° (grid) to the 1200m contour and as far down as you need. In 2022 grid north is very close to magnetic north so you can set your compass to these bearings. In future years magnetic north will move and you will need to adjust these grid bearings accordingly. On the second bearing you should reach a short steeper section after 300m and continuously steeper ground after 900m of downhill travel. A line of well built cairns now marks this route at fifty metre intervals to the top of the zig zags on the Mountain Track, however the cairns can not be used alone in poor visibility without following a compass bearing. Continue on down a steep but easy slope for another 1km on the same bearing until you find the Mountain Track and you can follow this. It crosses the Red Burn at 670m so don't descend below this altitude on this bearing. Can I just follow the cairns? The cairns that have been built above 1150m are there to help you. They will let you know that you are going in the right direction, but you will need to use your compass to keep you walking straight in the right direction. You can not rely on being able to walk in a straight line without a compass. It is common to have visibility of about 10m, so you will not be able to see the next cairn 50m away. The cairns get covered in rime and snow that make them blend in to the snow on the ground, so they can be very hard to see. In winters with a lot of snow, the cairns can become buried. The picture above has 5 cairns, all over 1m tall, all buried in the snow. How do you follow a compass bearing? The summit of Ben Nevis in poor visibility is not the place to learn! This is a skill to practice and perfect somewhere with no hazards around you. Go on a course or ask a friend with these skills to help you. After setting the right bearing (see diagram above) hold your compass in front of you with the Direction of Travel arrow pointing in whichever direction you happen to be facing. Keep holding the compass in front of you and turn around until the north end of the magnetic needle lines up with the north arrow in the compass housing (the north end of the magnetic needle on your compass will probably be coloured red and some compass needles also have "N" on the needle). It is your body that turns - not the compass baseplate. The Direction of Travel arrow now "does what it says on the tin" - tells you which way to go. While you walk along, you need to hold the compass centrally in front of your body with the baseplate horizontal and positioned so that you can see the alignment of the magnetic needle whilst at the same time looking along the Direction of Travel arrow. Make sure your phone is not close (within 40cm) to your compass, and that there is nothing made of steel near by (such as ice axes or walking poles). These will make your compass needle point in th ewrong direction. How do you measure the distance? From the summit you need to walk 150m on a bearing of 231° (grid). You can measure this distance by pacing, counting the number of paces you take. Having practiced a lot in a friendly place, I know that I take 60 paces (that is 120 individual steps) to cover 100m along the ground. If the snow is deep and soft I will take a few more paces, and if I am tired or carrying a heavy pack I will take more again. However, for me, 60 paces is a pretty good measurement of 100m. To measure 150m I will walk along following my compass bearing, counting until I get to 60 paces (100m). Then I will start counting again from zero the 30 paces to measure the 50m. You need to know how many paces you take to cover 100m. It will probably be a different number to mine. You should do this somewhere with no hazards, well in advance of needing to do it for real. Measure the distance with a 50m climbing rope, or on a running track, or find a straight path on a map with distinct and easily recognisable features that are exactly 100m apart and practice there. Best still, do all three of these to get your pacing very accurate, then practice it in the snow wearing your winter boots and carrying your rucksack. After walking 150m you should see three cairns close together, as long as they are not covered by snow. This is the point that you turn right in descent, change to the second bearing of 282° (grid) and walk off in this direction. These three cairns are positioned to point you in the right direction. The central one is the turning point; the first and central cairns line up with where you have come from; the central one and the third one line up with where you need to go next. Have a look at the image below. The central cairn and the third cairn clearly line up with the cairns on the bearing of 282° (grid) which will lead you across the plateau to the 1200m mark and down onto the zig zags of the Mountain Track. It is nice to know this, and quite obvious when the weather is clear. In poor visibility, this is another little thing to tell you that you are going in the right direction. However, you will still need to use your compass to keep you going in the right direction between the cairns and if you can't see the cairns. I have been walking and climbing on Ben Nevis and on all the mountains in this area for 27 years, and some of my scariest moments have been while navigating off the summits. When you are walking in a whiteout, you can not see what is in front of you at all. You are in a complete white room with no contrast between the ground and the sky. You can walk off a cornice and be falling before you know that it is there. When the only thing that will stop you walking off the cornice is your skill and practice in following a compass bearing and pacing the distance you are walking, you need to have total faith in your abilities. So, when you get it right, it is a very rewarding experience.
If you would like us to help, you can join one of our guided walks up Ben Nevis this winter and we will show you what you need to know. Take winter navigation seriously. Most accidents in winter start off with a navigation error, and end in a trip, stumble or fall. Get some training and do lots of practice in a safe environment. Remember that you can turn around before you get into a situation that is beyond your skill set.
5 Comments
Bruce McKenzie
15/5/2022 10:47:25
Hi Mike,
Reply
Mike Pescod
15/5/2022 11:11:48
Hi Bruce, thanks for your comments, I'm glad to hear that you found the blog useful.
Reply
Bruce McKenzie
26/6/2022 12:00:17
Hey Mike,
Clive Woosnam
5/7/2022 11:16:20
Great article! 👍🏻🏔🌅
Tom Humphries
6/7/2024 19:59:16
Thanks Mike!!
Reply
Your comment will be posted after it is approved.
Leave a Reply. |
AuthorMike Pescod Self reliance is a fundamental principle of mountaineering. By participating we accept this and take responsibility for the decisions we make. These blog posts and conditions reports are intended to help you make good decisions. They do not remove the need for you to make your own judgements when out in the hills.
Archives
March 2024
|
 RSS Feed
